Email Tips & Tricks
Seamonkey Setup
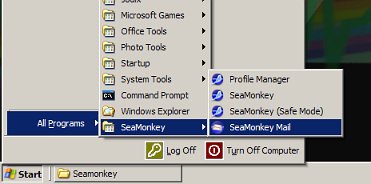
Open SeaMonkey Mail, either by desktop shortcut or as shown above.
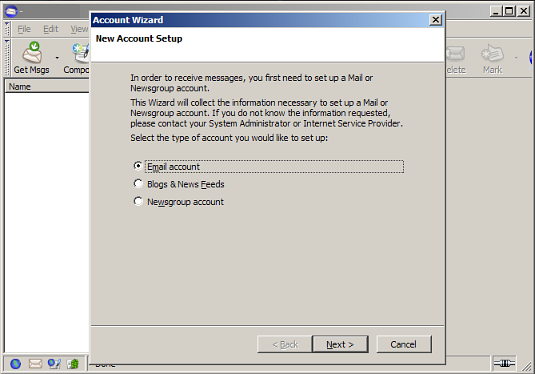
When you first open SeaMonkey Mail,
this will be the dialog window you are presented
with.
Here you can setup your new account be it email, News or Blogs.
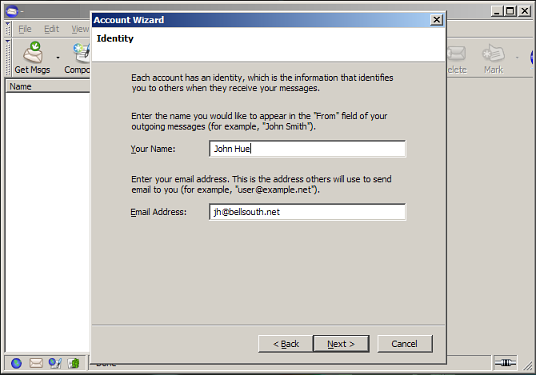
This dialog window allows you to choose the name others see when you email them.
Here, also,
is where you set the email you'd like others to use to send you email.
This address can
be different than the one you are setting the account up for.
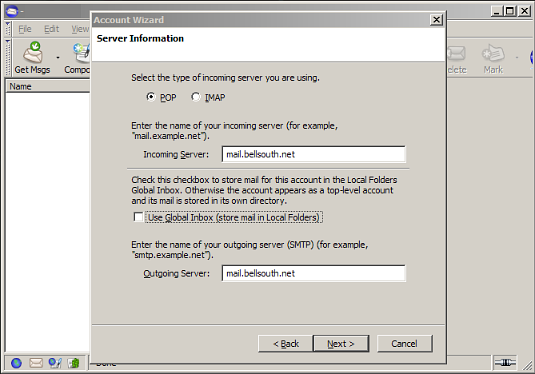
Next you will setup the type of account, incoming servers and outgoing servers.
You can find
most server settings here.
The middle radio-button
allows you to choose either, global storage of emails or to have an individual folder each
account.
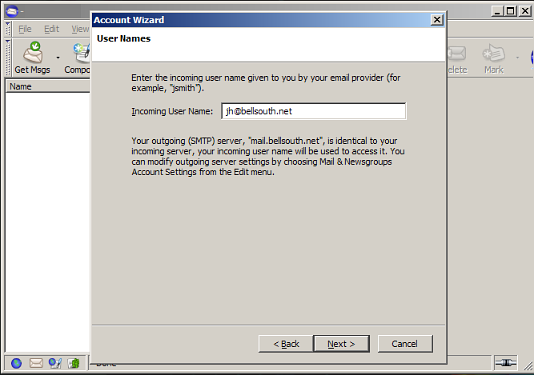
This is the place to enter the email of the account you are setting up.
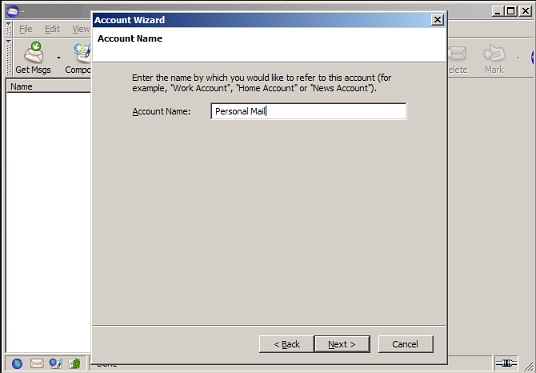
Choose the name you want SeaMonkey to identify the account as.
(i.e. "Miss Jones Work
Email")
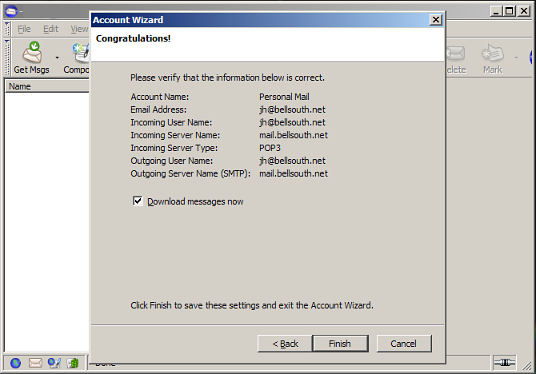
That should do it!

If you need to adjust or change any setting click Edit,
move down and select
Mail & Newsgroups Settings.
Portable Power
Duracell Portable Power Stations and Charging Hubs allow you to power your laptops, phones, and other small electronics that make your life easier during a power outage or while away from a wall outlet
eligible for commission
Frequent Links
GEVI Programmable 10-Cup Grind & Brew Coffee Maker with Built-in Grinder (GECMA025AK-U)